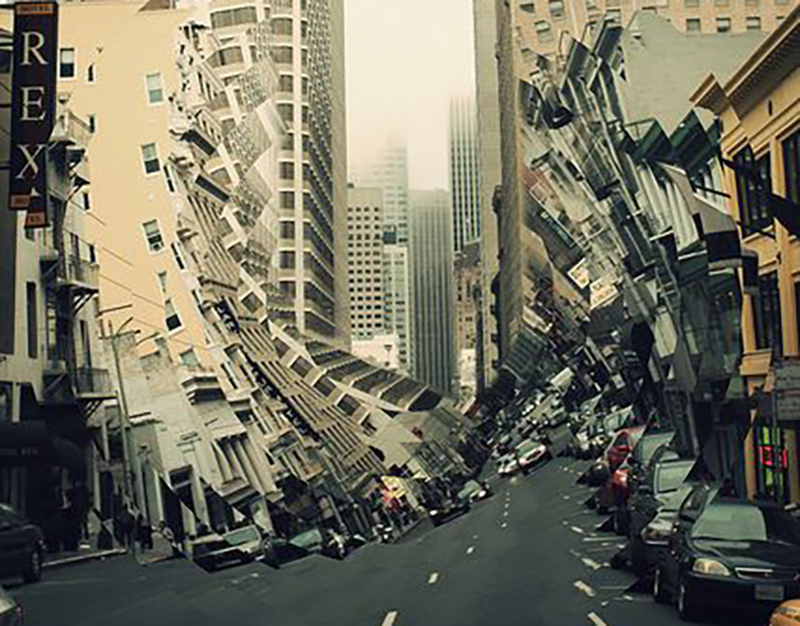
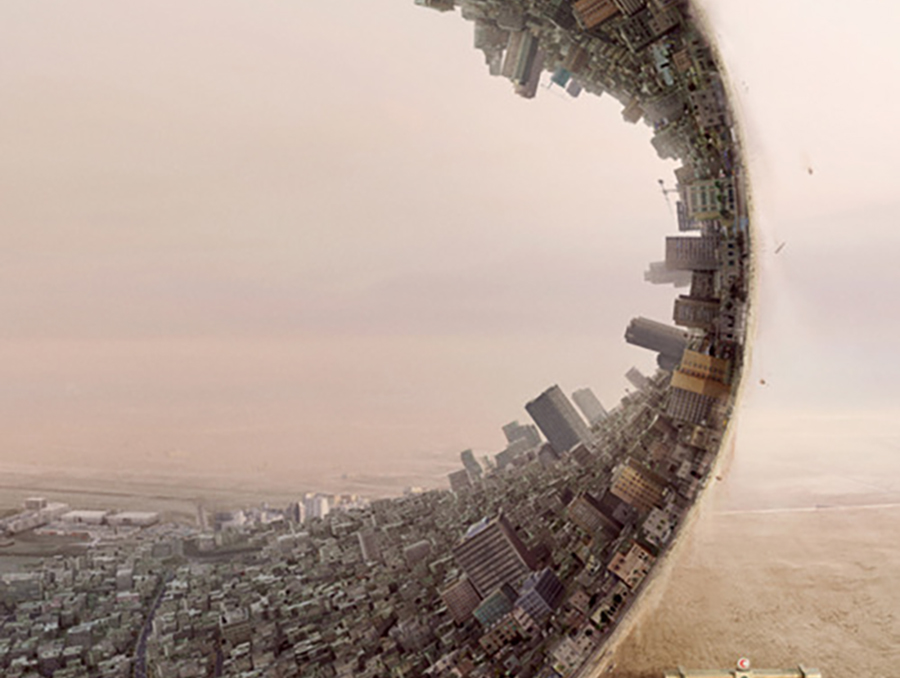
Geology – Geological phenomena
The following case studies can be done by the teacher with the participation of some students.They may however be done by the children divided into groups of 3-4 with the guidance of the teacher. The materials used are common in every home and very cheap. So the teacher with the appropriate preparation could ask the class to bring them with them to the next lesson.
Materials
2 large (wide) slices of bread
A box of very soft cheese of any kind (ointment) ( Philadelphia, Cottage cheese )
A small plastic tray or a piece of blue nylon.
A bottle of ketchup.
An egg well boiled (tight)
A common knife.
Paper
Markers
Toothpicks
A pair of scissors
A Glue tube (UHU etc.)
Stage A – Introductory
The teacher breaks the egg so that the shell breaks into large pieces and remains on the egg.
He/she explains that the earth’s sphere is very similar to the egg in form (not scramble and omelet but …) well cooked.
With the knife, he cuts the egg in two and we observe the intersection of the egg.
Discussion – question: Observing the egg in its intersection what differences and what similarities it has with the earth globe?
Similarities: There is stratification going from the yolk to the eggshell as in the earth from the core to the surface
The condition and physiology of the stratification are different starting from the center ( yolk /core ) to the surface.
Differences: Many: The size and in any case the egg can be eaten.
The broken shell is like the tectonic plates of the earth and the soft white helps to show that the plates shake, collide and rub against each other.
Stage b – visual construction
The teacher asks the children to draw with markers on paper some (which they remember) flags of countries of Europe, America, Asia, etc. in small shapes and sizes and then to cut them and stick them on the toothpicks.
B. The slices of bread. As wide as possible.
(Here will suit more those slices that grandmothers in old times cut of homemade handmade bread that kneaded and baked themselves and not the nowadays known forms we buy from the bakery – baguettes, daisies, multigrain, etc- whose slices are very small).
The teacher asks the children to shape the continents with the slices (as best as possible) and to pin to them the flags they have drawn.
Stage 3 rd – The globe is alive, is our home.
We spread on the blue plastic the ketchup = this is the core of the earth
Spread the soft cheese in the form of ointment on top on such a large surface that it fits the slices of bread/earth continents that we previously made.
Stage 4 th – the continents
The slices of bread are all gathered together at the beginning.
With the help of some children we slide and move the slices apart in the directions North (Europe) South (Africa) West (America) East (Asia) explaining that this is how the tectonic plates move and somehow the earth formed the continents – as these plates were moving away and they continue to move away from each other. The liquid cheese enters and fills the gaps between the plates (slices) that move away like the sea, forming oceans and seas.
Stage 5 th – Earthquakes
The teacher encourages the children and explains by touching the slices / tectonic plates that as the plates are rubbed and sliding on the soft layers of cheese and ketchup – Magmatogenic layers and liquid hot lava in the core of the earth, they create the earthquakes.
In fact, if the teacher continues to do this by pressing one slice with the other, then the flakes will rise and we will have an illustration of how the mountains are created.
Stage 6 th -View
A. Discussion
B. For a better understanding of the phenomenon and the lesson, the teacher could show a video of many videos that exist on Youtube (National Geographic etc) about tectonic plates, the movement, and formation of continents and earthquakes.
We quote one:
video 1-Why are earthquakes so hard to predict?